GitHub Repositories API Call in React using Routes, Error Boundary and Pagination.
Table of contents
In this article, I intend to provide detailed documentation of performing an API call of GitHub repositories in Reactjs.
What is ReactJS?
The ReactJS framework is an open-source JavaScript framework and library developed by Facebook. It's used for building interactive user interfaces and web applications quickly and efficiently with significantly less code than you would with vanilla JavaScript.
What is an API call?
A short form for Application Programming Interface, API is a medium through which a program interacts with another. An API call is a process where this happens. An application can "call" another for needed data or functionality.
This ensures developers do not have to spend time and effort building application capabilities that can be integrated via API. For instance, you are building a website where you need to fetch some data from a third party to make it function, like building an application where it shows the number of people who followed a user on a social media platform. It will require a 'call' to that social media platform, to gather data about the user.
What are Routes?
Routes are quite straightforward. Imagine it as a path leading somewhere. Cool? React Router is a standard library for routing in React. It enables the navigation among views of various components in a React Application, allows changing the browser URL, and keeps the UI in sync with the URL.
What is an Error Boundary?
Error boundaries are React components that catch JavaScript errors anywhere in their child component tree, log those errors, and display a fallback UI instead of the component tree that crashed. Error boundaries catch errors during rendering, in lifecycle methods, and constructors of the whole tree below them. Cool stuff!
Defining Pagination
Pagination in React JS is a function of apps that allows them to show data on a series of pages. The information can be seen by going from one page to the next rather than viewing it. This process is frequently done in conjunction with server-side technology that allows clients to make group requests for data.
Starting the Project
Let us create a react app by typing the following code into the terminal. This should be done after installing nodejs on the system
npx create-react-app exam-project
This will create a react project in the code editor (vscode) with the name Exam-Project. An alternative is creating this from the vscode terminal.

When you click on the Terminal, you can also type npx create-react-app exam-project
Creating the App (root) Component
The root component houses the other components. Here, it is named App.js
import React from 'react' function App () { return ( <> </> )}export default App;
Creating Other Components
React allows us to create reusable components throughout the application.
We create a few files- navbar.js, errorboundary.js and pagination.s in a folder called components.

Creating the Pages folder

To create each page, I create a folder and a file naming each page with a .js extension, as seen in the image above.
The About Page
The About.js file contains a simple component that showcases the about page.
import github from "../images/github.PNG";
const About = () => {
  return (
    <section>
      <div className="about-container">
        <h1 className="title">About</h1>
        <p className="about">
          This is my Second semester exam for Altschool Africa, School of
          Engineering. The project entails fetching my Github repositories and linking each of them using nested routes.
        </p>
      </div>
      <img src={github} alt="github" className="git" />
    </section>
  );
};

export default About;
The Error Page
Have you ever come across a website where you try to navigate to a page but get the error message '404, page not found' or something that represents the exact message? This means that the page being searched for does not exist. As a developer, it is vital to incorporate things while building a website.
In the error.js file, we have the following code,
import { NavLink } from "react-router-dom";
const Error = () => {
  return (
    <section>
      <h1 className="title"> 404 </h1>
      <p className="title"> Oops...Page not found </p>
      <NavLink to="/"> Back Home </NavLink>
    </section>
  );
};

export default Error;
The Home Page
Every website has a first landing page, also known as the home page.
In the Home.js file, we have the following code
import {Link} from 'react-router-dom';
import tinu from "../images/tinu.jpg";
const Home = () => {
  return (
    <>
      <section>
        <div className="title"> Welcome</div>
        <div className="home-content">
          <div className="paragraph">
            This website is my Examination project for AltSchool Africa, School
            of Engineering. In this Project, I fetch my Github repositories with
            the necessary tools of react. React hooks such as useState,
            useEffect, useNavigate and useParams were used. On the Portfolio
            page, I made use of Pagination. ErrorBoundary was created to draw
            out the errors and 404 page was built to catch an unavailable page.{" "}
            <br />
            <div>
              <button className="cta"> <Link to='about'>Learn More </Link></button>
            </div>
          </div>
          <div className="atinuke">
            <img src={tinu} alt="atinuke" />
          </div>
        </div>
      </section>
      <div className="bottom-content">
        <h3> Get in touch</h3>
        <p>
          Would be glad to hear from you! We could collaborate on a project. But
          if you would like to say hello, that's totally welcome. Drop me a line
          or two <a href="mailto:hatinukewaleawe@gmail.com" target='_blank'> <strong><em>here</em></strong>. </a>
        </p>
      </div>
      <div className="home-footer">
        <div className="footer-item">
          <strong> Altinuke </strong> © 2022, All Rights Reserved{" "}
        </div>
        <div className="footer-item">
          <strong>Contact</strong>
          <br /> hello.thetinuke@gmail.com
        </div>
        <div className="footer-item">
          <strong> Connect</strong> <br /> Instagram <br /> Linkedin <br />{" "}
          Twitter
        </div>
      </div>
    </>
  );
};

export default Home;
Creating Routes
As mentioned earlier, routes are pages in the reactjs world. To create pages(routes) in react, the following was run in the terminal;
npm install react-router-dom@6
On the App.js file, import { BrowserRouter as Router, Route } from 'react-router-dom';<BrowserRouter><Routes><Route path="/" element={<Home />} /><Route path="about" element={<About />} /><Route path="*" element={<Error />} /><Route path="portfolio" element={<Portfolio />} ><Route path=':portfolioId' element= {<MoreInfo/>}/></Route></Routes></BrowserRouter>
The path represents the route of the page and what it is named. The home page is represented by '/', as it is widely used since it is the first landing page. For the error page, '*' is used to capture any page that does not exist on the website. The element represents the component created in the pages folder.
Error Boundary
As stated earlier, Error boundaries are React components that catch JavaScript errors anywhere in their child component tree, log those errors, and display a fallback UI instead of the component tree that crashed.
In the ErrorBoundary.js file,
import React, { Component } from "react"; class ErrorBoundary extends Component { constructor(props) { super(props); this.state = { error: null }; } componentDidCatch(error, errorInfo) { console.log({ error, errorInfo }); } static getDerivedStateFromError(error) { return { error }; } render() { if (this.state.error) return ( <div className="error" style={{ color: "red" }}> {" "} An error occurred </div> ); return this.props.children; } } export default ErrorBoundary;
Creating the Navbar
The navbar is a combination of the menu bar

The home, about and portfolio pages make up the navbar. The navlink is used to create the navbar, it is imported from the react-router-dom which was installed earlier in the project. In the NavBar.js file,
import { NavLink } from "react-router-dom"; import logo from "../images/logo.jpg"; import "../styles.css"; const Navbar = () => { return ( <header className="navbar"> <img src={logo} alt="logo" className="logo" /> <nav> <NavLink to="/" style={({ isActive }) => ({ color: isActive ? '#964B00' : '#3f51b5', })} className="nav-item"> Home </NavLink> <NavLink to="about" style={({ isActive }) => ({ color: isActive ? '#964B00' : '#3f51b5', })} className="nav-item"> About </NavLink> <NavLink to="portfolio" style={({ isActive }) => ({ color: isActive ? '#964B00' : '#3f51b5', })} className="nav-item"> Portfolio </NavLink> </nav> </header> ); }; export default Navbar;
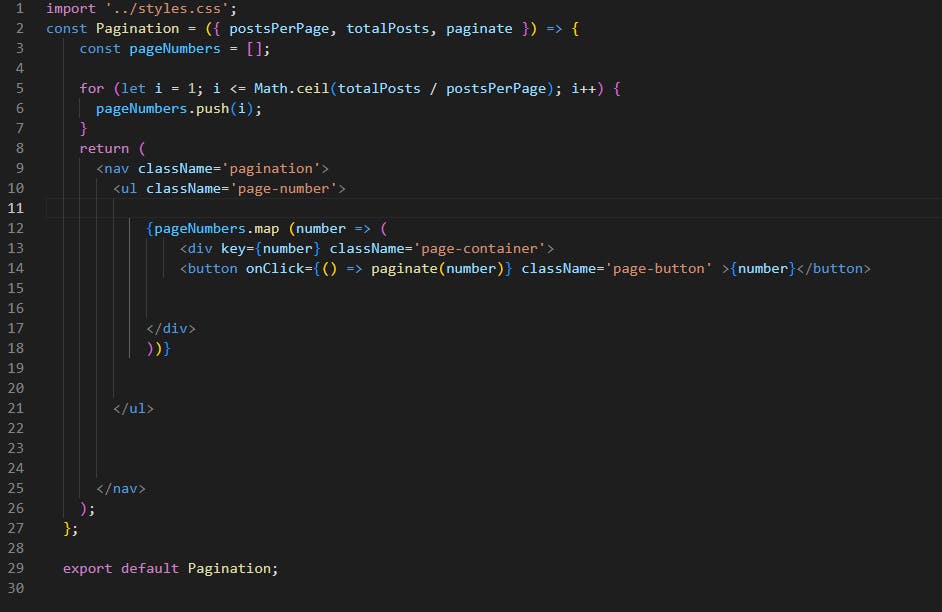
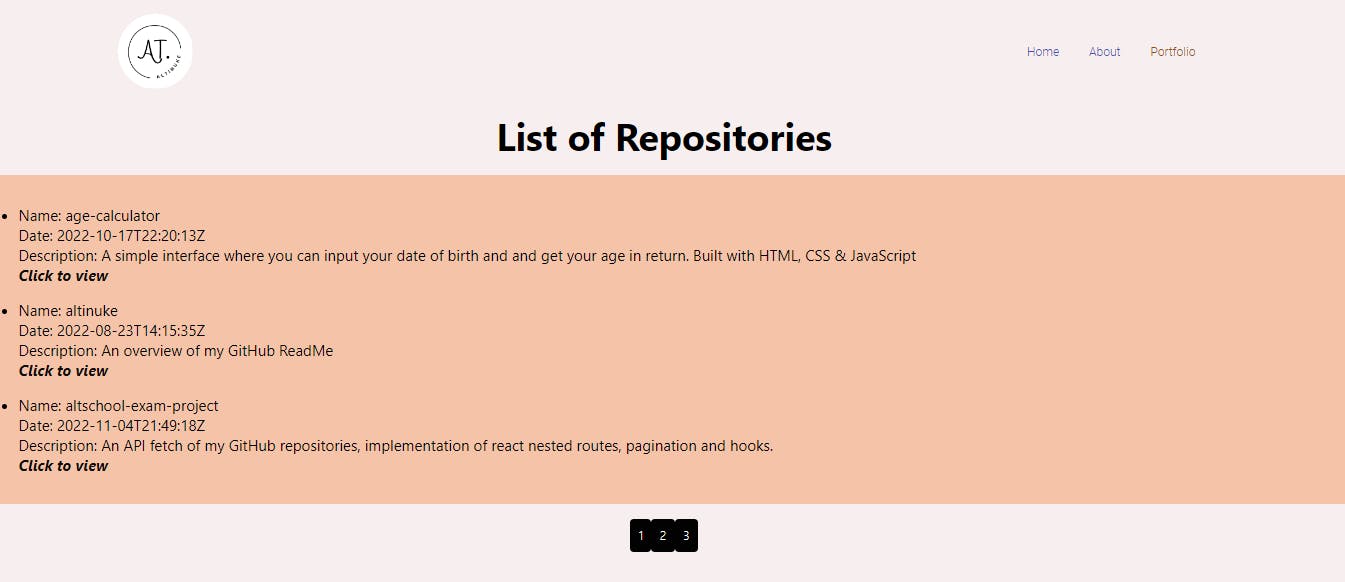
Pagination

API Call
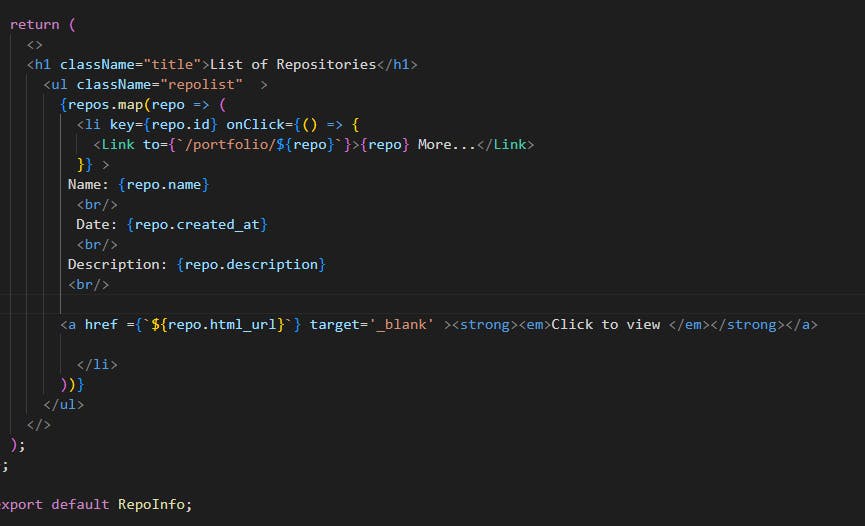
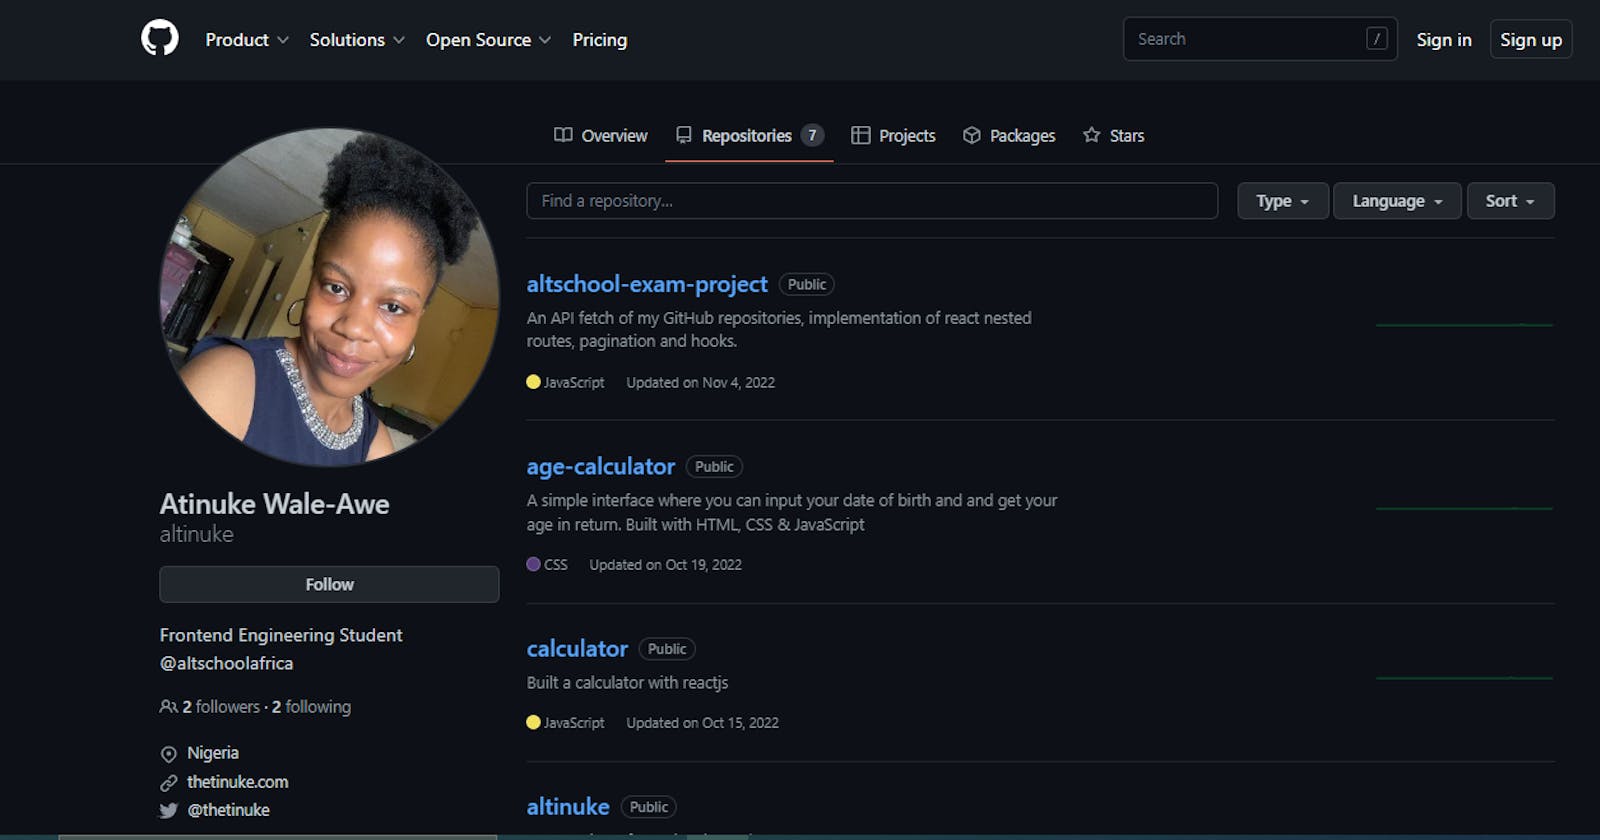
Using the useEffect hook, I fetched my GitHub repositories


Implementing Search Engine Optimization
Search engine optimization is the process of improving the quality and quality of website traffic to a website or a web page from search engines. In simple terms, it means the process of improving your site to increase its visibility when people search for products or services related to your product or service.
In React, there's a default title for your website; 'React App' and a custom React description and this will be displayed on every page on your website, so to improve this in React, we install a dependency called React Helmet From the terminal and then import helmet provider.
npm install react-helmet-asyncimport { HelmetProvider, Helmet } from "react-helmet-async";
<Helmet>
  <title>Home</title>
  <meta name='description' content='Home'/>
</Helmet>
The above code was implemented on the App.js file.
This was a pretty basic and beginner project.
Thank you for reading.

